|
|||||||
| Home | Forum | Online Store | Information | LJ Webcam | Gallery | Register | FAQ | Community | Calendar | Today's Posts | Search |
 |
|
|
Thread Tools | Display Modes |
 10-12-2012, 09:34 AM
|
#301 |
|
Member

Join Date: Sep 2012
Location: RC
Posts: 71
|
|

|

|
|
10-12-2012, 10:21 AM
|
#302 | ||
|
Senior Member

Join Date: May 2012
Location: The Matrix
Posts: 643
|
Quote:
Quote:
__________________
-Kevin |
||
|
|
|
|
10-14-2012, 10:00 PM
|
#303 |
|
#1 on fishstick's hitlist

Join Date: May 2011
Location: Sea level
Posts: 1,478
|
whats that rear hatch on the pro angler for anyways?
rigged it up to hold one of my batteries. since the front hatch seems to hold water, I'm in the progress of fixing that, i figured this would be the best way to insure a dry battery and terminals. i just slit holes for the wire and epoxied it in place. 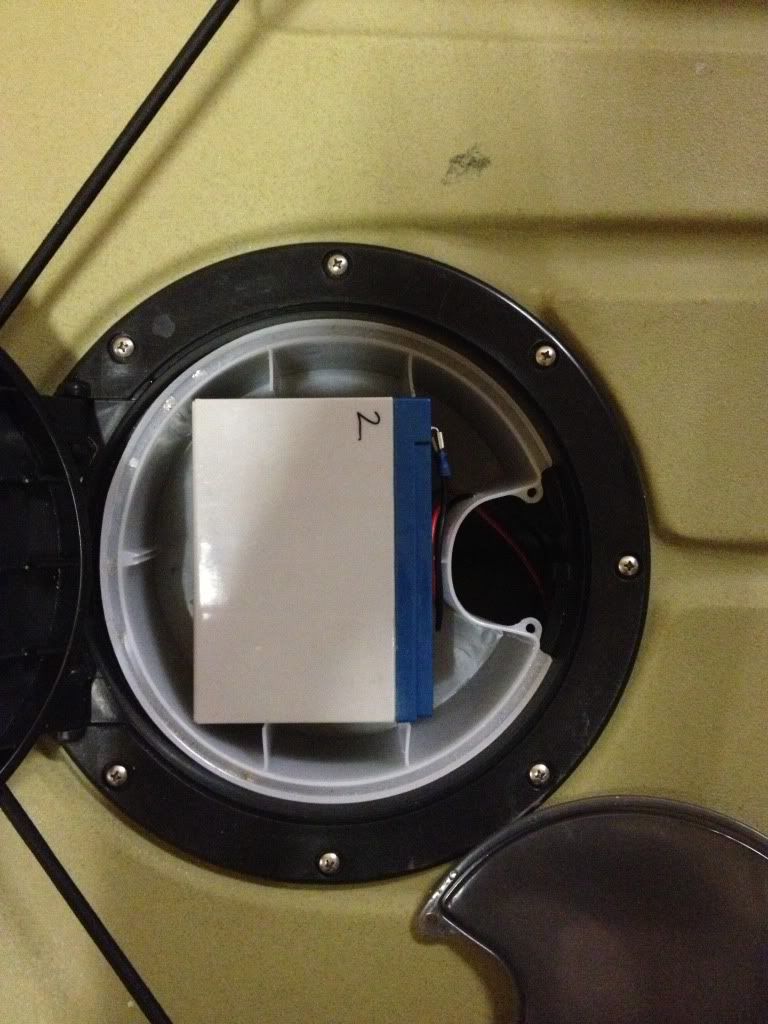
__________________
MLPA- My Largest Poaching Area 
|
|
|
|
|
10-15-2012, 11:33 AM
|
#304 | |
|
Senior Member

Join Date: Jun 2011
Location: San Diego
Posts: 664
|
Just making a contribution to this awesome thread.
Original post here with a review. http://www.bigwatersedge.com/bwevb/s...ad.php?t=15546 Quote:
__________________
Urban Camo Trident 13 |
|
|
|
|
|
10-22-2012, 03:47 PM
|
#305 | |
|
Senior Member

Join Date: Feb 2012
Location: SoCaL
Posts: 224
|
Quote:
__________________
|
|
|
|
|
|
10-22-2012, 10:42 PM
|
#306 | |
|
The Kayak Peddler

Join Date: Aug 2012
Location: North Hollywood
Posts: 591
|
Quote:
__________________
Keep your rod close, your gaff closer, and your paddle on a leash. |
|
|
|
|
|
10-26-2012, 08:43 PM
|
#307 |
|
Member

Join Date: Oct 2012
Posts: 47
|
|
|
|
|
|
11-16-2012, 09:03 PM
|
#308 |
|
Senior Member

Join Date: Apr 2010
Posts: 6,856
|
WHERE'S THAT BUNGEE!!??
Ive been out a few times and have come close to or have actually forgotten the bungee cord for my kayak cart wheels. I have the larger wheeled and YES I know they're big but its nice to have them available as soon as you land. Anyway, since Hobie makes those plastic removable nuts I decided to come up with a permanent solution to my problem.
 
__________________
 www.facebook.com/Teamsewer |
|
|
|
|
11-22-2012, 01:37 PM
|
#309 |
|
loves bacon

Join Date: Feb 2010
Location: Behind The Orange Curtain
Posts: 110
|
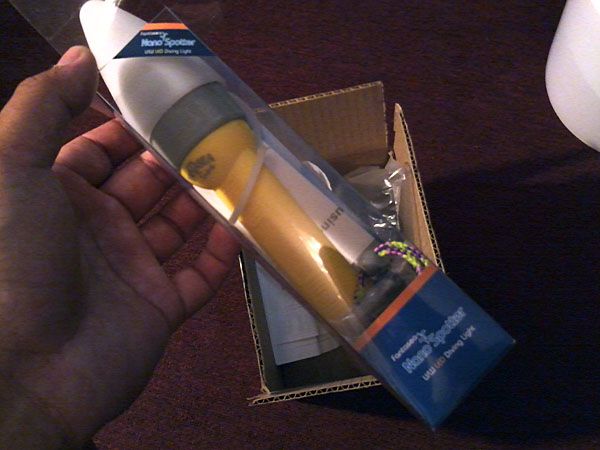
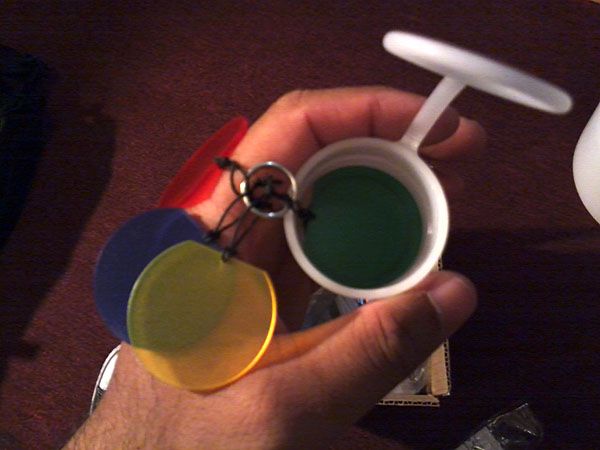
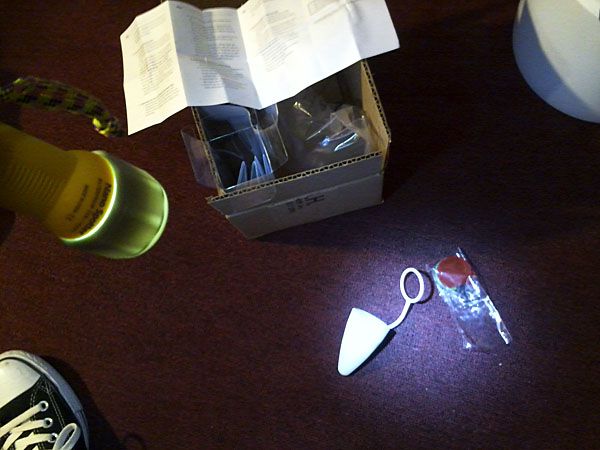
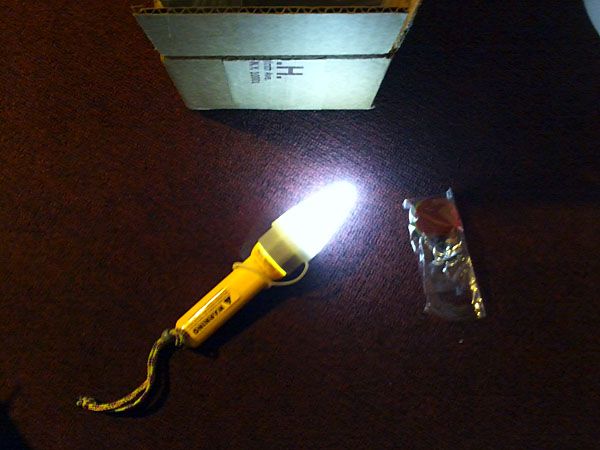
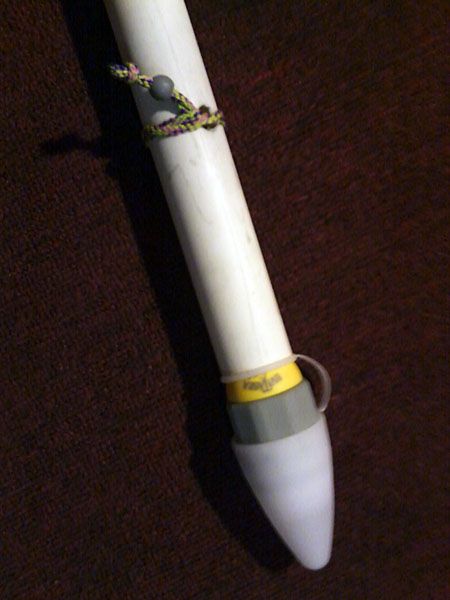
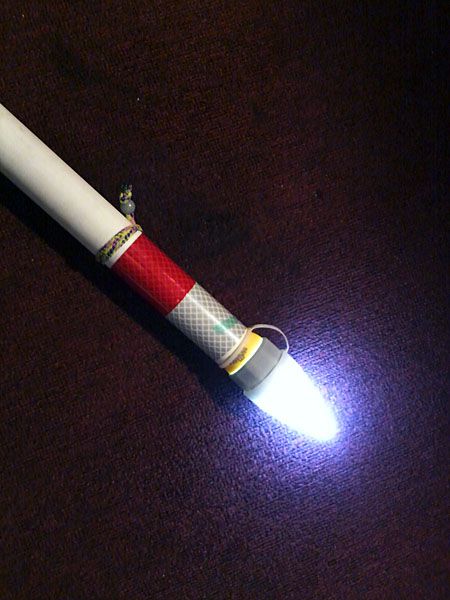
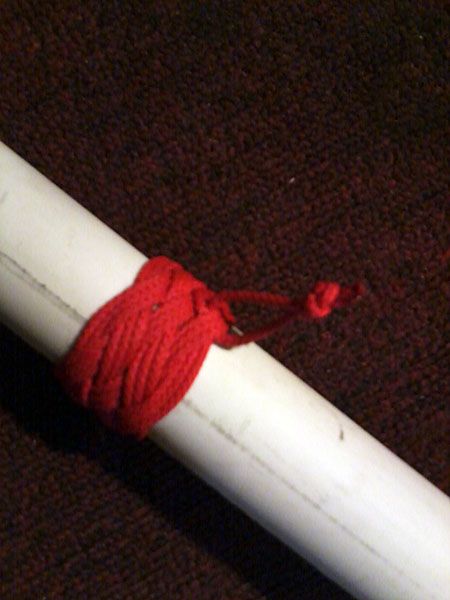
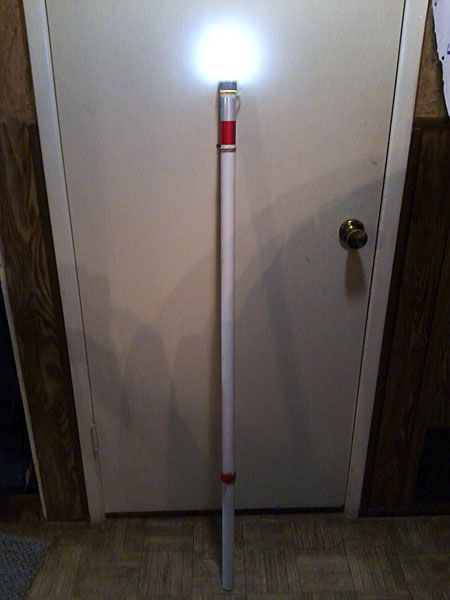
ACME RSRDT 3000 (Rockfish Safe Release Descension tool)
2 years of research and development
This is for all you cheap bastards that don't want to pay for a real one  Features All plastic construction: it's lightweight and won't rust. Glows in the dark: Acts as a night light so that those little frys you're sending back down into the dark abyss won't get scared. Floats: You will never lose it Multi Purpose: flip it upside down and it can be used as a lip gripper Instructions 1. Clip the lever end to your line 2. Clamp it on to bottom lip of fish and send it down 3. Pull on rod a few times and clamp will release |
|
|
|
|
11-22-2012, 02:09 PM
|
#310 | |
|
Senior Member
Join Date: Apr 2010
Posts: 6,856
|
Quote:
Holy crap T!!! That's fricken awesome!
__________________
www.facebook.com/Teamsewer |
|
|
|
|
|
11-22-2012, 04:54 PM
|
#311 |
|
Senior Member
Join Date: Sep 2010
Posts: 275
|
^^^^^^^^^^^^ Some of the best ideas are the simple ones.. Thats the best one yet

|
|
|
|
|
11-22-2012, 09:15 PM
|
#312 |
|
Senior Member

Join Date: Jun 2010
Location: Under a bridge
Posts: 2,169
|
Soo simple...it's frickin genius!

|
|
|
|
|
11-23-2012, 09:49 AM
|
#313 |
|
loves bacon
Join Date: Feb 2010
Location: Behind The Orange Curtain
Posts: 110
|
Thanks for the compliments!
If you want to be an ultralight freak and drill small holes into all your gear like me....use brad point drill bits. It makes clean holes and won't tear through or crack any types of plastic or PVC. |
|
|
|
|
12-17-2012, 05:48 AM
|
#314 |
|
Junior
Join Date: Jan 2010
Location: Northern NJ
Posts: 4
|
Rolling Rack Project
OK, I've been shamelessly stealing some of these great ideas from some of you sharp West Coast guys. Time for me to try to contribute something.
Here's a rolling rack project that I did about three years ago and posted on a few other sites. Some changes that I've made since then: I made slings for all three bunks. I keep a Revo, Kaskazi DII and Ocean Kayak P-13 on this rack. All three kayaks are kept hull down in the slings. I know some folks advised hull up on the bunks, but I've never had a single issue with oil canning and it's much more convenient this way. Anyone hanging a kayak from a hoist would have a similar arrangement. The other boats are relegated to an A-frame rack on the side yard. Here's a day project that might help free up some floor space in the garage. Good for burning a snowy day! We have a single car garage and were constantly stumbling over both the kayaks. I didn't really want to store them outside; we live in NJ...I didn't want these kayaks boosted  I wanted a rack that could hold up to 3 kayaks, but be able to get them all out of the way if needed. I found some other similar designs on the web, but adapted some of the better features to make something that would work best for me. A trip to the Home Depot got me the wood, hardware and misc supplies needed. Overall outside dimensions are 72" x 39". The inside width dimensions were dictated by the fattest boat (OK Malibu 2XL). I wanted to be able to slide the kayaks onto the crosspieces or bunks, so I used black foam pipe insulation and covered them with indoor/outdoor carpet. I wrapped the carpet around the top and sides and secured it to the bottom of the 2x4's with staples all the way across. You'll need a staple gun for this.   The OK sits directly on the bunks. I don't really worry about creating permanent dents in the bottom of this boat. They're built like tanks and because of the bottom design, not likely to get damaged. I was a little more concerned about storing the Revo in the same fashion. I decided to create a sling. I bought some 4" wide winch strap material from online. I doubled over the material on the one side and screwed it to the 2x4 using fender washers and screws. You can easily poke holes in the material using a pencil soldering iron. On the other side I installed a d-ring and secured it using a small bolt, nut and lock washer. This side gets hung on the hooks. When I want to use the boat, I unhook both D-rings from the hooks, ease the boat onto the bunks, and slide the Revo out.  I used these corner brackets that I picked up at HD to secure all the cross piece bunks to the uprights and horizontal long pieces. They save a bunch of time and worked out pretty well.  I got some heavy duty rolling casters from Harbor Freight. I made sure that they had real ball bearings and could handle quite a bit of weight. I screwed in short pieces of 2x4's to the bottom so that I could get some long screws into the bottom to mount the wheels on. 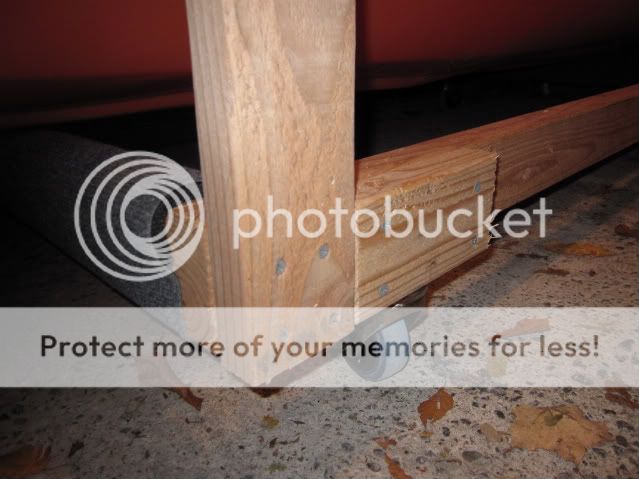 I've had the rack in use for several months and it's working out great for us. When I want to get something off the shelf in back of it, it's fairly easy to roll it out of the way. I can roll it right out into the driveway if I want to clean the garage. Make sure that you have some wheel chocks ready. You don't want to be chasing your rack and yaks down the driveway. Sorry for the varying size of the pictures. Couldn't for the life of me figure out how to get the first shot the same size as some of the others. |
|
|
|
|
12-17-2012, 06:58 AM
|
#315 |
|
Senior Member

Join Date: Sep 2010
Location: South OC
Posts: 1,606
|
nice rack. Any pictures of fish?
 In all seriousness hope all is going well for you and your neighbors. |
|
|
|
|
12-17-2012, 11:24 AM
|
#316 |
|
Member

Join Date: Jun 2012
Location: Port Hueneme CA.
Posts: 35
|
How about a solar Battery charger straped to the deck!! So we can keep charged our 12 volt for longer trips. Also you I phone users to. My girl saw this at Cost Co and wants to use it.
http://www.goalzero.com/ Maybe it will help Cheers Saba
|
|
|
|
|
12-17-2012, 02:45 PM
|
#317 | |
|
Senior Member

Join Date: Nov 2005
Location: Table 17, Bay Park Fish Co.
Posts: 943
|
Quote:
|
|
|
|
|
|
12-17-2012, 10:13 PM
|
#318 |
|
Senior Member

Join Date: Jul 2007
Location: Waiting to launch
Posts: 1,381
|
Whale pump
Please show the whale pump installation. I'm very interested in that.
|
|
|
|
|
12-18-2012, 07:45 AM
|
#319 | |
|
Senior Member

Join Date: Jun 2012
Location: Westside
Posts: 141
|
Quote:
|
|
|
|
|
|
12-18-2012, 07:01 PM
|
#320 | |
|
Junior
Join Date: Apr 2010
Posts: 21
|
Quote:
In the downhill mountain bike race scene we call these speed holes. 
|
|
|
|
|
|
| Tags |
| kayak fishing inovations, kayak rigging ideas |
|
|


 Linear Mode

