|
|||||||
| Home | Forum | Online Store | Information | LJ Webcam | Gallery | Register | FAQ | Community | Calendar | Today's Posts | Search |
 |
|
|
Thread Tools | Display Modes |
 09-28-2012, 09:38 AM
|
#281 |
|
.

Join Date: May 2010
Posts: 1,155
|
Hobie Pro Angler 12 rudder mod
sorry for the crappy cell phone pic's 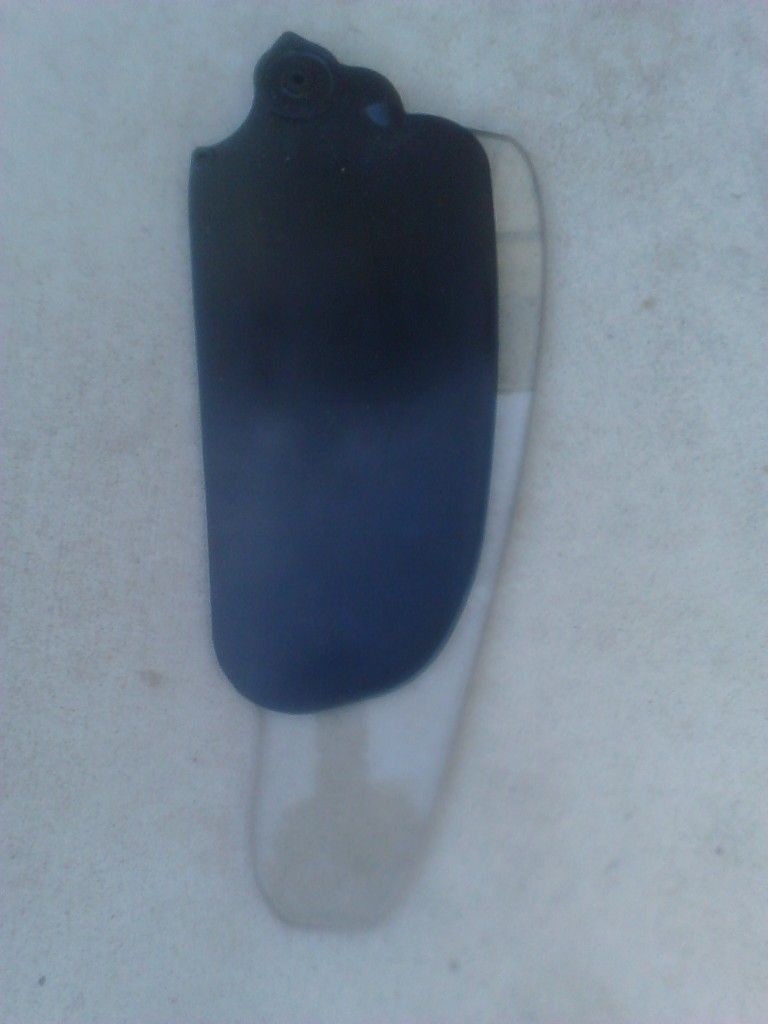 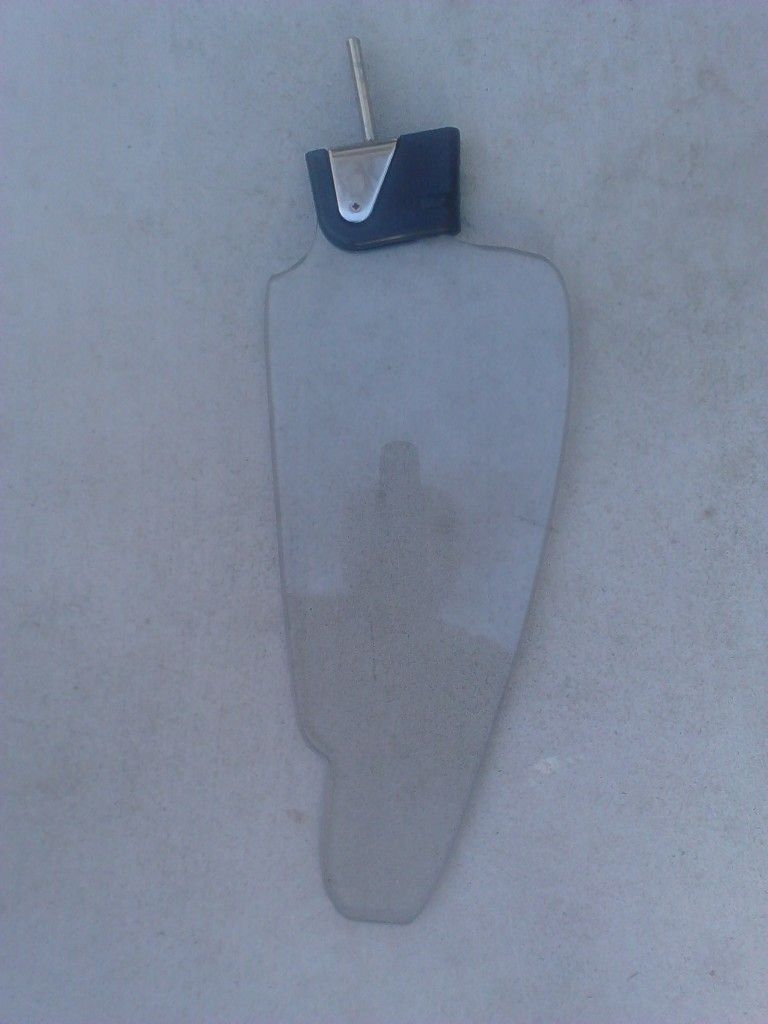 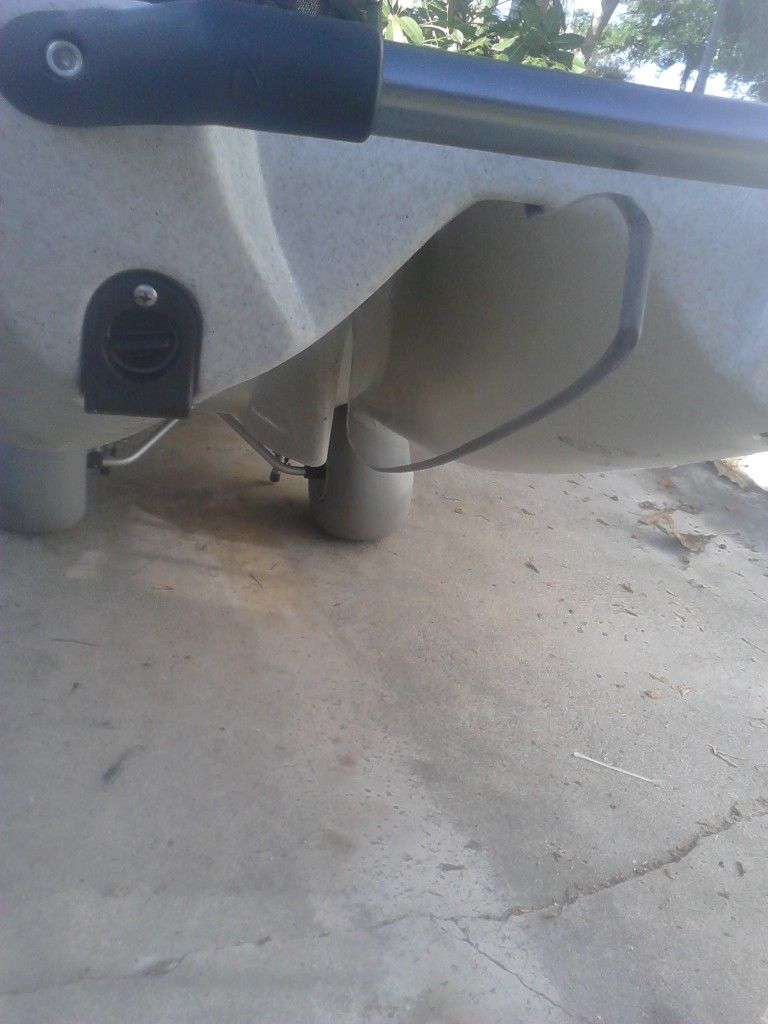 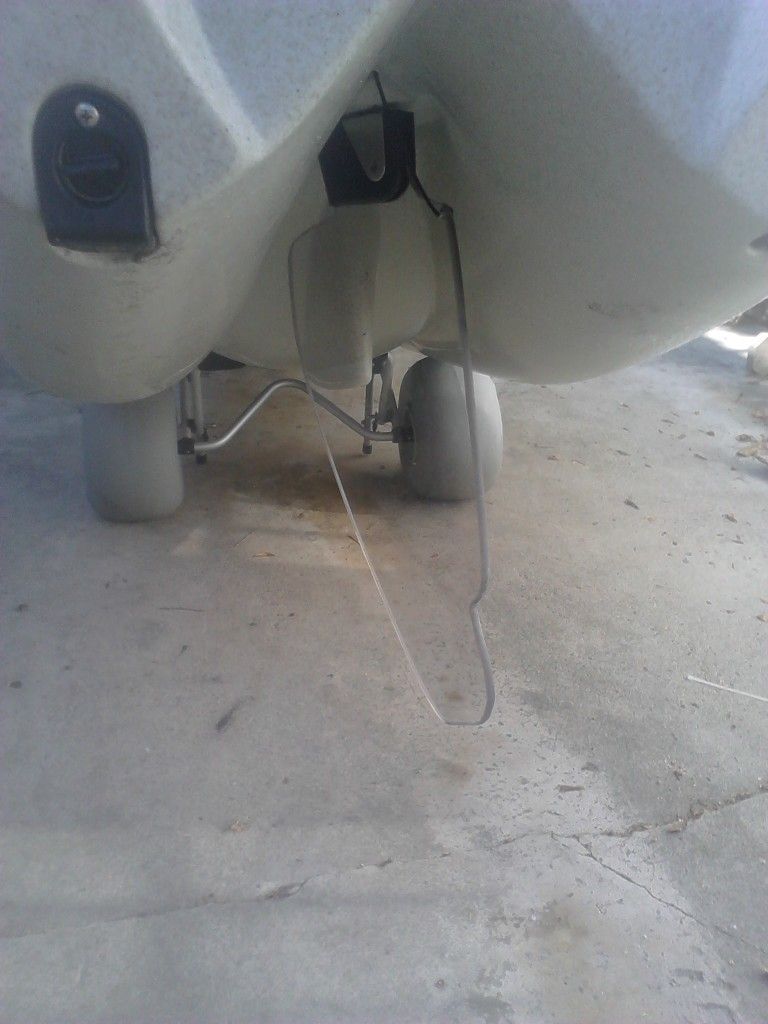 testing it out tomorrow for bug hunt'n
__________________

|

|

|
|
09-28-2012, 09:47 AM
|
#282 |
|
Senior Member

Join Date: Sep 2009
Location: newbury park ca
Posts: 2,323
|
Very nice job....I am sure that idea will be borrowed...thanks for sharin'
I don't have a PA...yet, but I would do that
__________________
|
|
|
|
|
09-28-2012, 10:51 AM
|
#283 |
|
Senior Member

Join Date: Feb 2012
Location: Oceanside
Posts: 112
|
x2 on the design.
 Now you got me thinking Now you got me thinking  , And I haven't even had my PA 12 in the water yet. , And I haven't even had my PA 12 in the water yet.
|
|
|
|
|
09-29-2012, 03:05 PM
|
#284 |
|
Member

Join Date: May 2012
Posts: 80
|
Sabiki Rod Issues
Well, I made one of those PVC pipe Sabiki Rods to try and save some money. It turned out OK but larger mackerel have been causing grooves to wear into the PVC. I couldn't find anything to put on the end to alleviate this problem, so I made something. I'll be trying it out in LJ next week. I took a large beer bottle and cut off the top, ground down the edges with emory cloth, and heated the PVC with a heat gun and stuck the beer bottle end inside. It was slightly loose so I put a hose clamp and some duct tape around it. My wife just said, "Go buy a sabiki rod". I guess it was the challenge of making something work that kept me going. With my luck, the glass will break while transporting it to the beach.
|
|
|
|
|
09-29-2012, 03:13 PM
|
#285 | |
|
Senior Member
Join Date: Sep 2012
Location: San Diego
Posts: 732
|
Quote:
Use the rod you made and buy another one that you really want and just call it your Sabiki Rod
|
|
|
|
|
|
09-29-2012, 04:36 PM
|
#286 |
|
Senior Member

Join Date: May 2010
Location: Cypress, CA
Posts: 789
|
I put a good amount of five minute expoxy on my PVC opening. And been good for almost 3years now....
__________________
 
|
|
|
|
|
09-29-2012, 09:17 PM
|
#287 |
|
Member
Join Date: May 2012
Posts: 80
|
The epoxy sounds like a good idea. I'll try it when my beer bottle top breaks. So does getting another rod and calling it a "sabiki rod". This site is full of great information. Thanks guys. I'm thinking an ULUA sabiki rod maybe.
|
|
|
|
|
10-06-2012, 02:41 PM
|
#288 | |
|
Guest
Posts: n/a
|
From my earlier thread
Quote:
|
|
|
|
|
10-06-2012, 03:01 PM
|
#289 |
|
Senior Member

Join Date: Apr 2010
Posts: 6,856
|
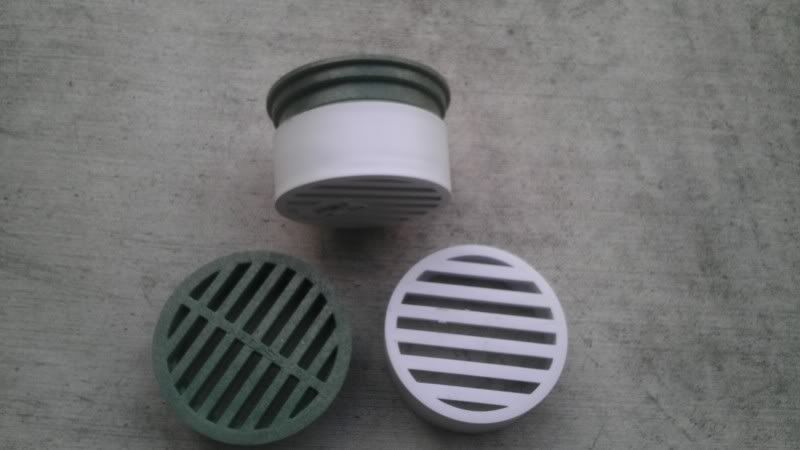
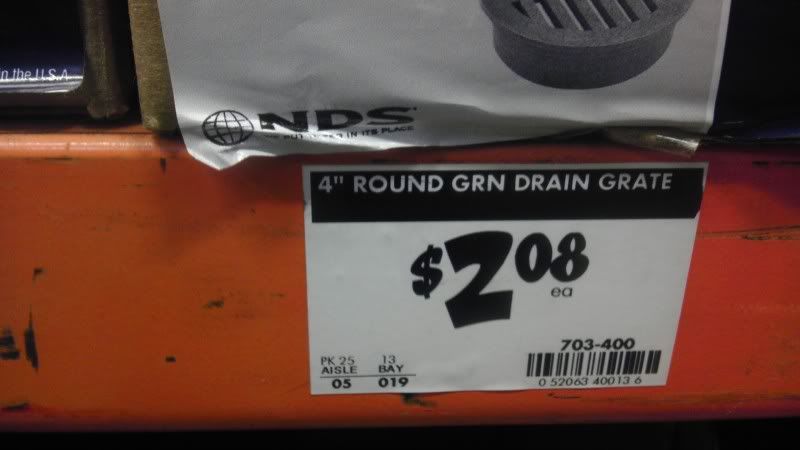
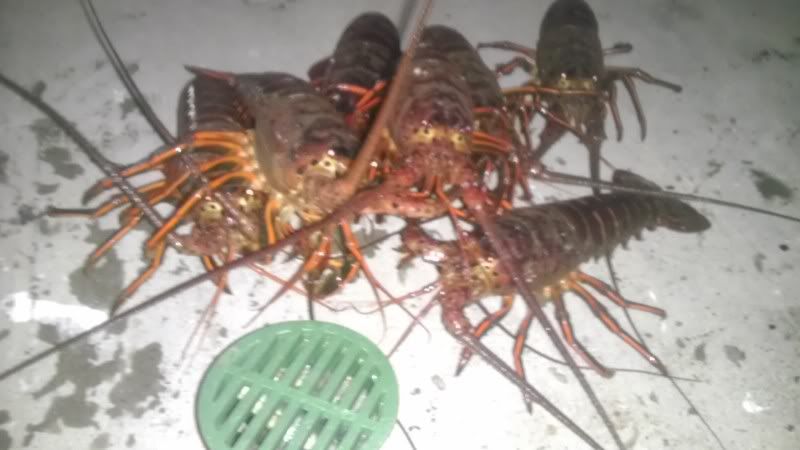
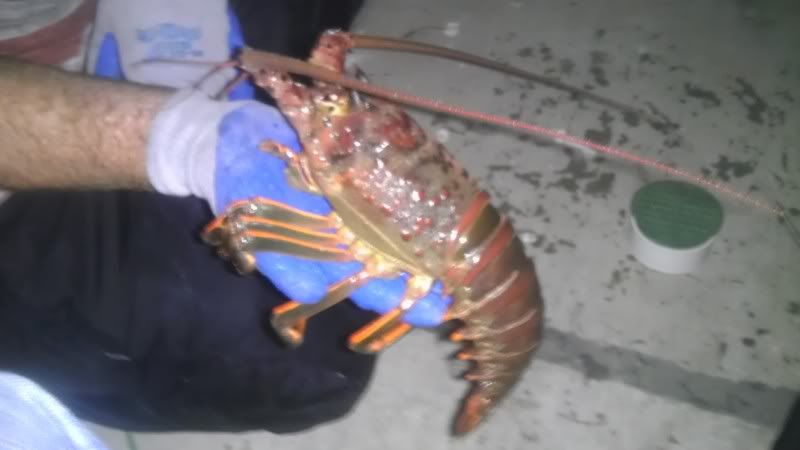
Drake, thank's a bunch for sharing your idea. Today I went to Home Depot and purchased five lids and five of those cups, it cost me $20.
I made a few improvements to the tops and cups. 1st I took a file to the ridges that are on the lids, filed them down to minimize the amount o pressure it takes to open the lid Before  After  Next, I took a round file to the cups and filed down a small section to help pop open the top.   I compared the amount of strength it took to open an off the shelf piece to one that I modified. After the modification it took about half the pressure to remove the top, filing down a section to get a grip with a finger really helped. Again, thanks for sharing  Bait cages are baited and in the freezer ready for the next 
__________________
 www.facebook.com/Teamsewer |
|
|
|
|
10-06-2012, 03:04 PM
|
#290 |
|
Guest
Posts: n/a
|
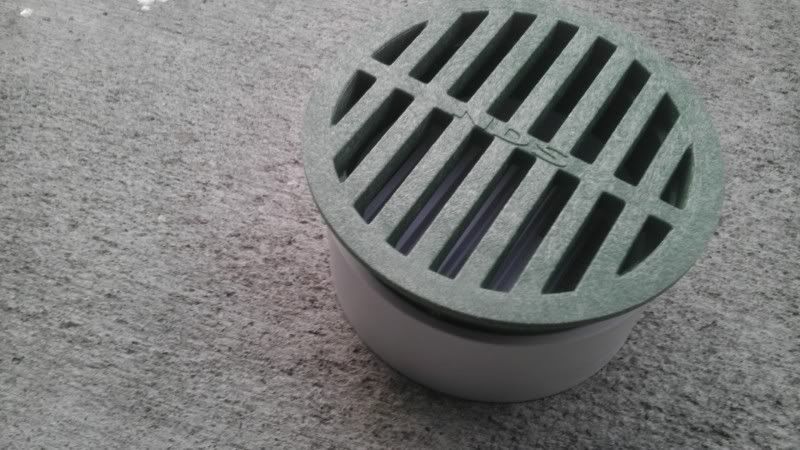
No problem Jor. Looks like you got the different cups than the ones I got. I went with the slotted ones because the green lids don't actually go all they way in, and it makes a little more room for bait. Also, I know it probably won't matter but I figured with the slits in the bottom their would be less drag when pulling them up. But agian, when its packed with bait I don't think it will matter. Let me know how those work. If they do I might make the switch because they have a lower profile by about 3/4"
|
|
|
|
10-06-2012, 03:06 PM
|
#291 | |
|
Senior Member
Join Date: Apr 2010
Posts: 6,856
|
Quote:
10-4.....I forgot to mention that I used the ones that have the closed bottom, no need to have bait spilling out of the bottom.
__________________
www.facebook.com/Teamsewer |
|
|
|
|
|
10-07-2012, 04:31 PM
|
#292 |
|
Guest
Posts: n/a
|
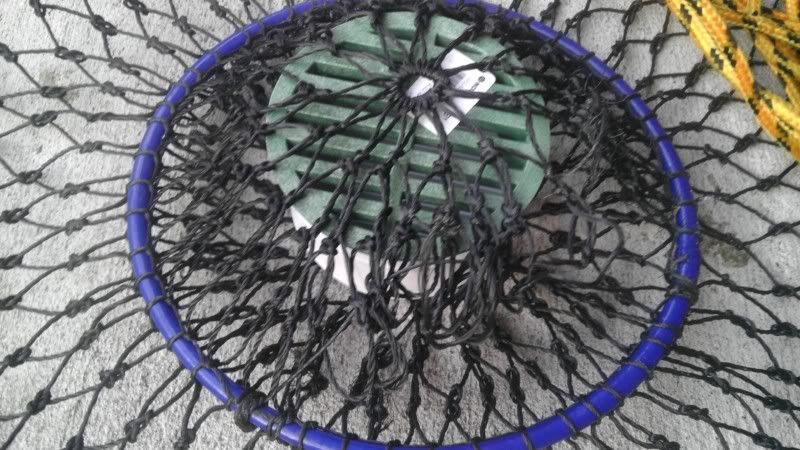
Made a small modification to the nets to better accommodate the pucks.
One came loose last night so I wanted to come up with a better way to secure them. This is what I came up with. I cut the string that holds the tag ends of the netting together which forms the opening. Then I weaved a short bungee in the loops and zip tied them to the lower ring. I cut the end off so they wouldn't rust and get hung up, then burned the tips to clean them up. The bungees cost $2.94 from home depot. Took about 2 minutes for each hoop. 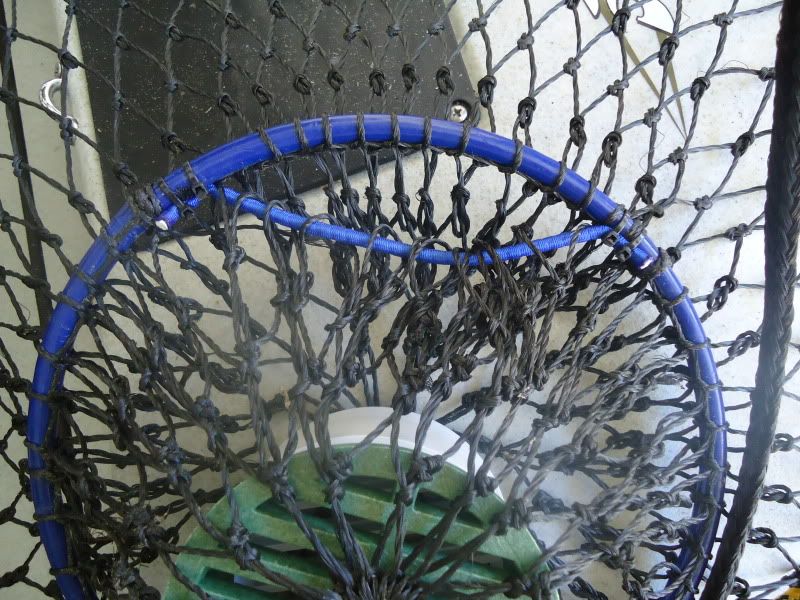 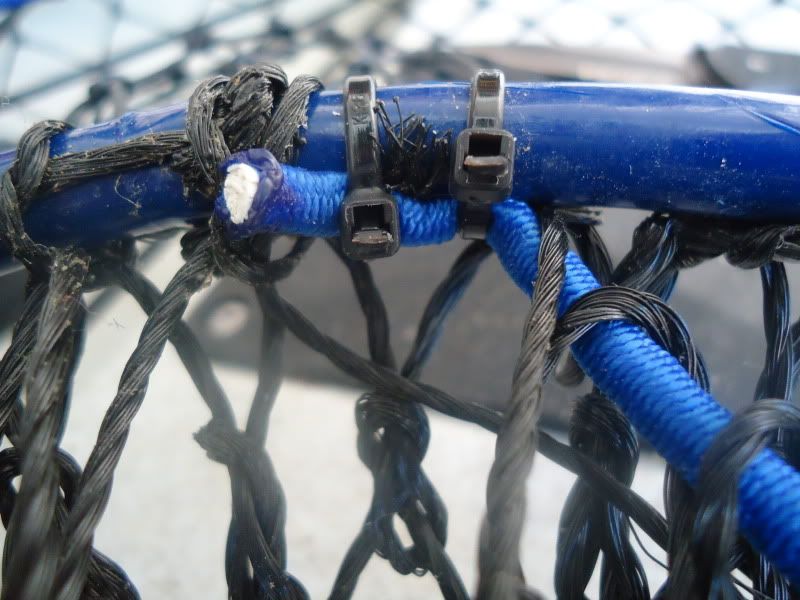 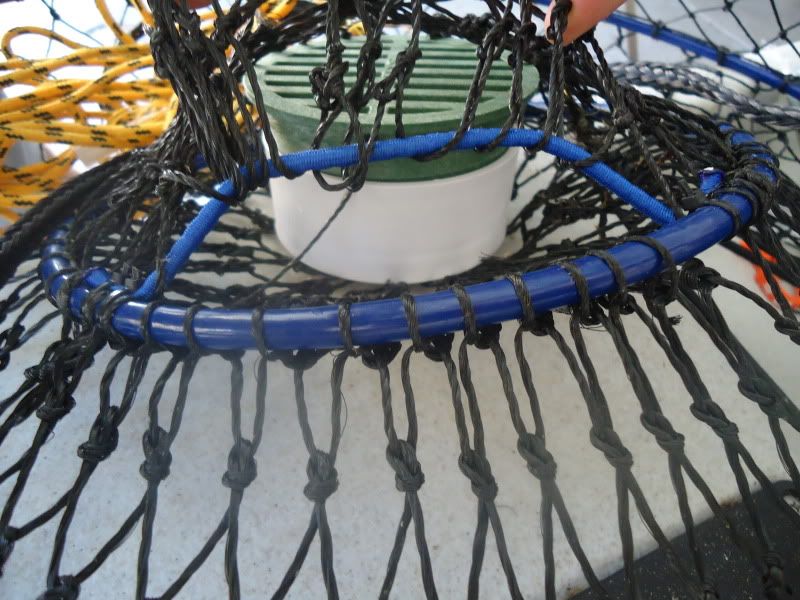
|
|
|
|
10-08-2012, 02:27 PM
|
#293 |
|
Senior Member

Join Date: Jul 2012
Location: Oceanside, CA
Posts: 419
|
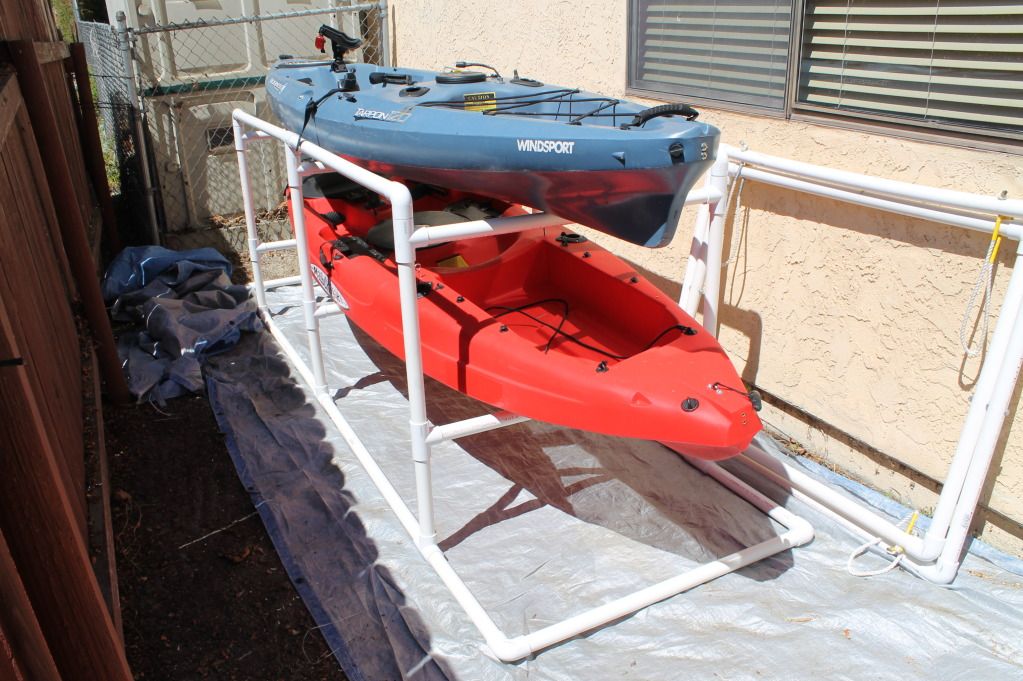
Just thought I would share a picture of the double kayak storage stand I made with 1 1/4" PVC. Pretty simple and works perfect.
__________________
 
|
|
|
|
|
10-08-2012, 02:33 PM
|
#294 |
|
Senior Member
Join Date: Jul 2012
Location: Oceanside, CA
Posts: 419
|
In-hull transducer mounting. Works perfect.
Used plumbers puddy to create the ring.  Filled half way with goop and tape in place. Let stand at least 24 hours.  Remove the puddy. 
__________________
|
|
|
|
|
10-08-2012, 02:47 PM
|
#295 |
|
Senior Member
Join Date: Jul 2012
Location: Oceanside, CA
Posts: 419
|
For those with Malibu Kayaks you know how difficult it is to reach the front pole holders. So I am gonna try this to bring the pole holder closer to me.

__________________
|
|
|
|
|
10-10-2012, 06:44 PM
|
#296 |
|
#1 on fishstick's hitlist

Join Date: May 2011
Location: Sea level
Posts: 1,478
|
thought i was innovative by adding tennis balls to the cart so the yak didnt rest on the cross bar... then drake told me the black spacers are adjustable...
 so if you dont have the spacers and dont want to buy them. add some tennis balls... these ones seemed softer than normal. 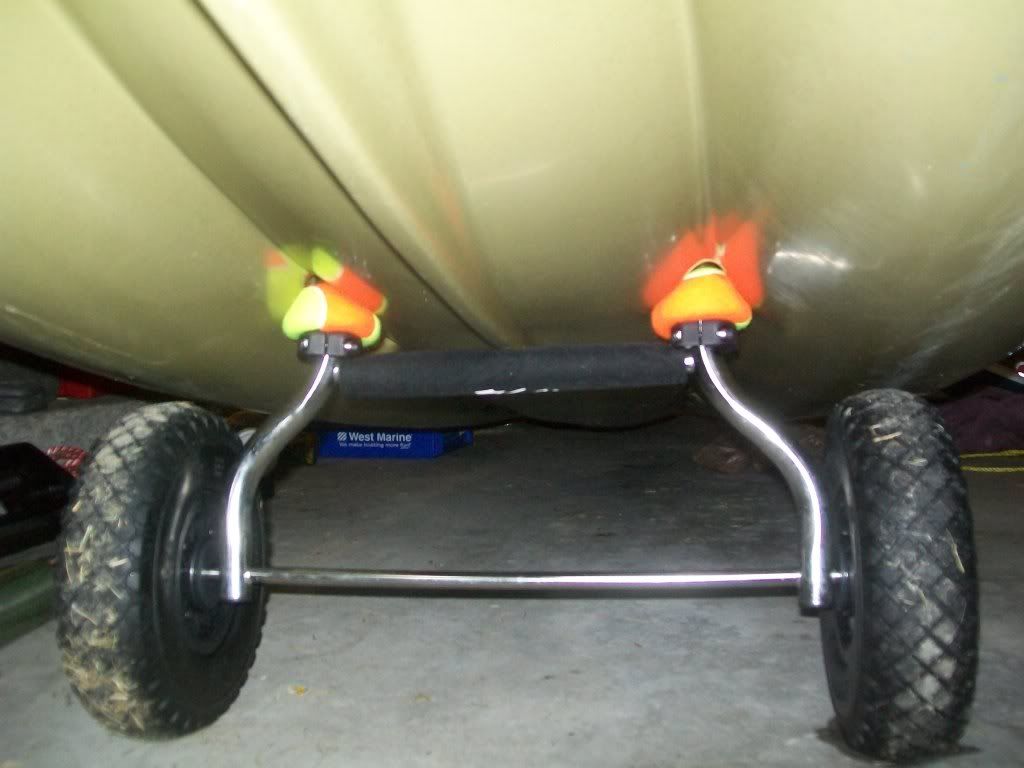
__________________
MLPA- My Largest Poaching Area
|
|
|
|
|
10-10-2012, 07:01 PM
|
#297 |
|
Senior Member
Join Date: Sep 2009
Location: newbury park ca
Posts: 2,323
|
that ducer mount is perfect, the rod adapters are a great idea for that app,
I had made some for the Outback, but I broke em in a yardsale, never did redo them...nice job
__________________
|
|
|
|
|
10-11-2012, 08:16 AM
|
#298 |
|
Senior Member
Join Date: Mar 2012
Location: Utah
Posts: 138
|
I found that those "adjustable" black spacers on a Hobie cart work perfectly: They self-adjust right to the bottom the moment you put the kayak on.
I added a one-inch section of PVC under the black spacers. No more slippage. |
|
|
|
|
10-11-2012, 09:34 PM
|
#299 |
|
Senior Member

Join Date: May 2012
Location: The Matrix
Posts: 643
|
Hockey Stick Fishing Rod Holder
I've been holding on to my broken hockey sticks, was saving them to build a coffee table. But, I got bored and decided I needed to build something over the weekend.
May I introduce, the Hockey Stick Fishing Rod Holder.   
__________________
-Kevin Last edited by MrM; 10-11-2012 at 10:27 PM. Reason: Grammar |
|
|
|
|
10-12-2012, 09:21 AM
|
#300 | |
|
Team Keine Zugehörigkeit

Join Date: Nov 2010
Location: Way out there
Posts: 2,854
|
Quote:
__________________
 Não alimente os trolls------------Don't feed the trolls---------------インタネット荒らしを無視しろ 
|
|
|
|
|
|
| Tags |
| kayak fishing inovations, kayak rigging ideas |
|
|


 Linear Mode

